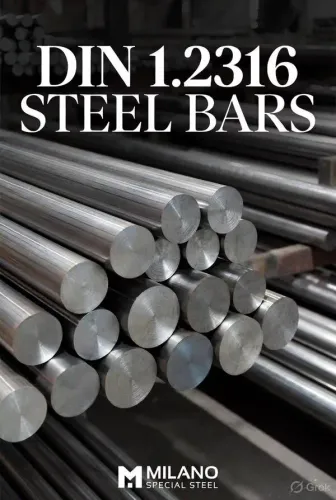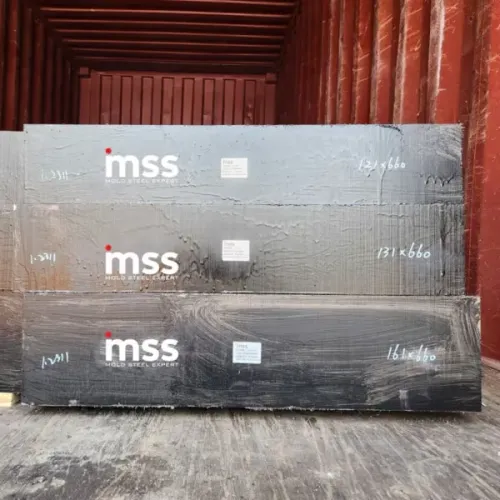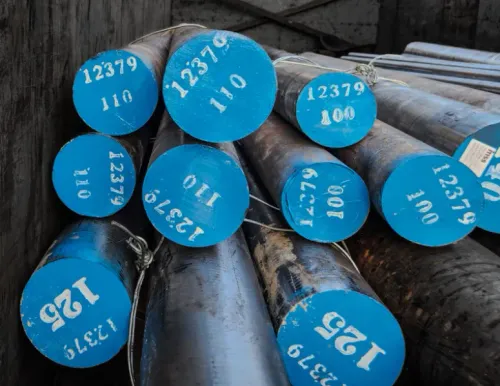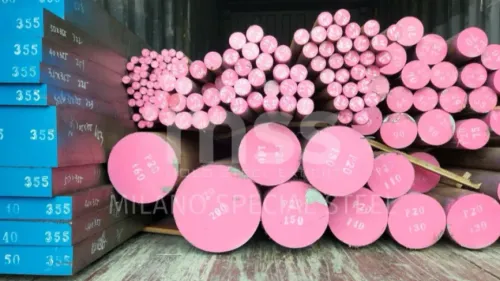
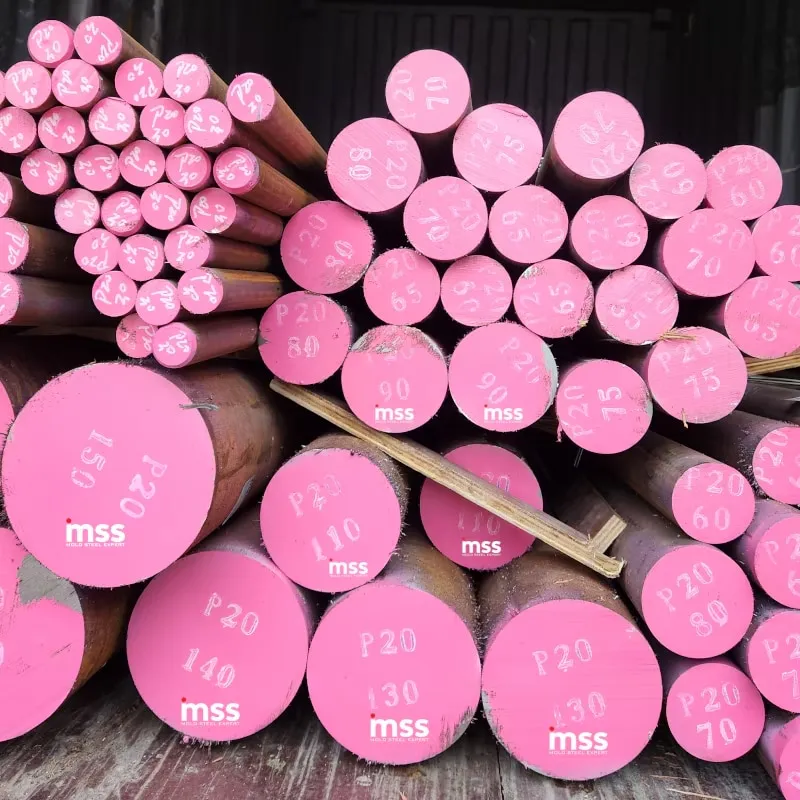
Care begins before the first cut: confirm that the bar is actually DIN 1.2378, record its heat number, and protect its surface from moisture and impact. By following a traceable storage, machining, heat-treatment, and inspection routine, you can preserve wear resistance without introducing distortion, cracks, or avoidable corrosion.
Key takeaways
- Confirm the grade, delivery condition, dimensions, and material certificate before machining.
- Keep bars dry, supported, labelled, and separated to preserve identity and prevent damage.
- Use controlled cutting and cooling to prevent overheating and premature tool wear.
- Record heat treatment, grinding, EDM, inspections, and the finished tool’s material traceability.
Verify the Grade and Delivery Condition Before Machining
Do not machine the bar until its identity, condition, and dimensions match the tooling drawing. DIN 1.2378 is the high-wear cold-work steel commonly designated X220CrVMo13-4, not a generic chromium alloy. Its high carbon, chromium, molybdenum, and vanadium content gives excellent wear resistance but makes machining harder and heat control more demanding.
1. Check the material certificate for the DIN 1.2378 designation, heat number, chemical analysis, delivery condition, and supplied hardness. Bars are commonly annealed at about 255 HB maximum, but use the stated value or verify it with hardness testing rather than assuming ordinary HSS tools will cut easily.
2. Demand an EN 10204 type 3.1 certificate and match its heat number to the bar, packaging, and purchase order. For safety-critical tooling, confirm the grade with positive material identification; visual appearance and a supplier label cannot reliably separate 1.2378 from 1.2379.
3. Resolve the 1.2378 vs P201.2738 alloy steel confusion before substitution. DIN 1.2738 is a pre-hardened mould steel related to P20, not an equivalent replacement for X220CrVMo13-4; obtain engineering approval before changing grades.
4. Measure diameter, straightness, and surface condition. Reject or quarantine bars with unexplained scale, deep seams, cracks, heavy rust, or damaged ends, and retain the certificate and heat number after cutting.
Rough-machine the verified annealed bar, then leave a controlled finishing allowance for hardening movement and removal of decarburized or oxidized surface material.
Store, Handle, and Inspect Round Bars Before Use
A cold bar brought directly into a warm shop can develop condensation beneath its packaging. That moisture starts corrosion before machining begins, so control the storage environment and inspect every surface before installation.
1. Keep round bar storage under cover, off concrete floors, and away from cutting-fluid residue. Support each bar along its length with clean, level supports; set support spacing close enough to prevent sagging, and do not stack bars where point loads or contact can dent future locating surfaces.
2. Leave cold bars packaged until they reach the shop temperature, then open and dry them. Clean fingerprints, coolant, and moisture from the steel, apply a compatible rust preventive oil to exposed surfaces, and protect end faces and ground areas from impact. Remove the coating before machining or mould assembly.
3. Handle bars with padded slings or soft separators rather than dragging them or dropping them onto racks. A small nick, dent, or sharp edge can become a crack initiator during hardening or service. Reject or quarantine bars with deep impact marks, pitting, longitudinal seams, visible cracks, heavy scale, or unexplained bends.
4. Check straightness, diameter, and surface condition against the drawing before cutting. Use magnetic-particle testing for surface and near-surface cracks on clean ferromagnetic steel; use ultrasonic testing when internal inclusions, laminations, or other hidden discontinuities could affect a large or highly stressed tool. Record the findings with the bar heat number.
Machine the Bar Without Overheating or Losing Traceability
Start with the mill certificate and the bar’s transferred heat number, then confirm the actual hardness before selecting tools. The annealed condition is commonly specified at 255 HB maximum, but do not assume the bar meets it; excessive hardness quickly shortens HSS tool life and increases heat buildup.
1. Mark the heat number on every cut piece before sawing. Copy it to the job record and retain the original certificate. If the mark will be machined away, transfer it to an unmachined end or attach a controlled identification tag.
2. Inspect the circumference and ends for seams, laps, cracks, rust pits, and a decarburised layer. Remove defective material during facing or rough machining; do not leave a soft surface layer on a future working face.
3. Use cutting parameters matched to the measured hardness, cutter material, diameter, and machine rigidity. Apply a stable coolant stream, clear chips frequently, and stop if the workpiece becomes too hot to touch safely or the finish suddenly changes. Heat buildup can soften the edge, damage tooling, and distort the bar.
4. Rough-machine before hardening, leaving a documented heat-treatment allowance for expected movement, scale removal, and final grinding. Set that allowance from the bar size, hardening route, and required tolerance rather than taking nearly all stock away.
For large, asymmetric, or heavily roughed parts, use the specified stress relieving cycle before final machining. Measure diameter, straightness, and critical locations after roughing and again after heat treatment; record both readings so movement is separated from machining error.
Control Hardening, Tempering, Grinding, and EDM
Use the steel producer’s data sheet for hardening, not a generic DIN 1.2379 cycle. A typical austenitizing range is 1,050–1,100 °C, followed by air, gas, oil, or another controlled quenching method matched to section size and distortion limits. Use a vacuum or protected atmosphere to prevent oxidation and decarburization.
| Operation | Control | Failure prevented |
|---|---|---|
| Hardening | Record furnace temperature, soak time, transfer time, and quench method | Distortion, soft skin, cracking |
| Tempering | Temper promptly using the specified temperature, time, and number of cycles | Brittle martensite and unstable dimensions |
| Grinding | Use a sharp, dressed wheel, coolant, light infeed, and light finishing passes | Grinding burn, tensile stress, and cracks |
| EDM | Use controlled finishing passes and remove the damaged surface afterward | EDM recast layer and heat-affected cracking |
Retained austenite can increase after hardening at the high end of the temperature range and later transform during service. Control it through the specified tempering schedule; use sub-zero or cryogenic treatment only when the tool’s tolerance, hardness target, and heat-treater’s procedure justify it. Do not apply cryogenic treatment automatically.
Leave a controlled finishing allowance after rough machining before hardening, then remove oxidized or decarburized material and size the hardened part by grinding. Inspect critical edges with magnetic-particle or dye-penetrant testing after grinding and EDM. A recast layer left in a punch, die, or gauge can initiate cracking even when the core hardness is correct.
Build a Maintenance and Supply Record for the Finished Tool
A tool becomes difficult to trust when its repair history ends with “reground” or “welded.” Assign each finished tool a permanent identification number and keep one record linking its drawing revision, cavity or insert location, steel heat number, supplier, and treatment batch.
- Record the as-finished dimensions, final hardness, hardening and tempering temperatures, EDM settings, skim cuts, and grinding wheel and coolant details.
- Log each tooling maintenance event by date, production cycles, observed wear, dimensional measurement, surface inspection result, and technician.
- Record rust preventive applied during storage and the cleaning method used before assembly; this prevents residue from being mistaken for a surface defect.
- For every welding repair, attach the qualified welding procedure, filler designation, preheat and interpass temperatures, cooling method, post-weld heat treatment, and post-repair hardness.
- Attach photographs or marked-up drawings showing cracks, chipped edges, repaired zones, and the surfaces accepted for service.
Inspect critical working surfaces after grinding and EDM, not only after a failure. A burned or cracked area needs removal and verification because a polished appearance does not prove sound metal.
Keep inspection records with the tool and issue a replacement request using its identification number, original heat number, required diameter, finished dimensions, and hardness range.
Milano Special Steel, Plastic Mold Steel Expert can use that information to distinguish a repeat supply from an unapproved grade substitution, especially where P20 or DIN 1.2738 is proposed as an alternative.
Related product
 | DIN 1.2738 Tool Steel DIN 1.2378 Steel Round bars, High-Quality P20 Tool Steel View product → |
Frequently asked questions
What must you verify before machining DIN 1.2378 round bar?
Match the bar’s grade, X220CrVMo13-4 designation, delivery condition, dimensions, heat or batch number, and material certificate against the tooling drawing and purchase documents.
How should DIN 1.2378 round bars be stored and handled?
Store bars under cover on clean supports, keep them dry, protect machined surfaces from impact and corrosion, and retain identification with each piece during movement and cutting.
How do you machine DIN 1.2378 without overheating it?
Use cutting parameters suited to this high-wear cold-work steel, apply stable cooling, avoid rubbing, and inspect the bar and cutting tool for heat damage or loss of identification.
What records belong with a finished tool made from DIN 1.2378?
Keep the material certificate, batch or heat number, machining notes, hardening and tempering records, grinding and EDM details, inspection results, repairs, and maintenance history.